
Last updated September 20, 2026
Full 25-point door and opener safety check with every visit - springs, cables, rollers, tracks, and your LiftMaster or Chamberlain opener included
You get a price before we start. It does not change when the truck arrives.
 Before
 After
After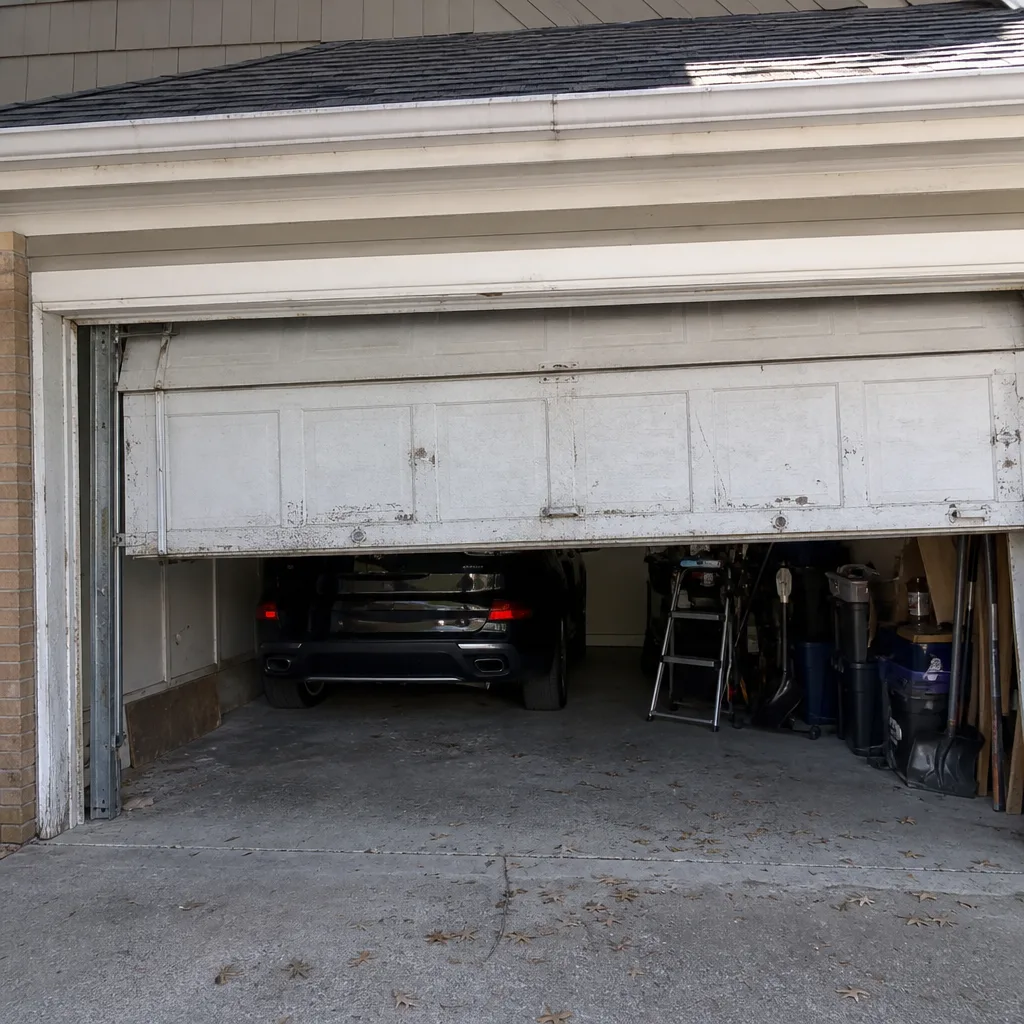 Before
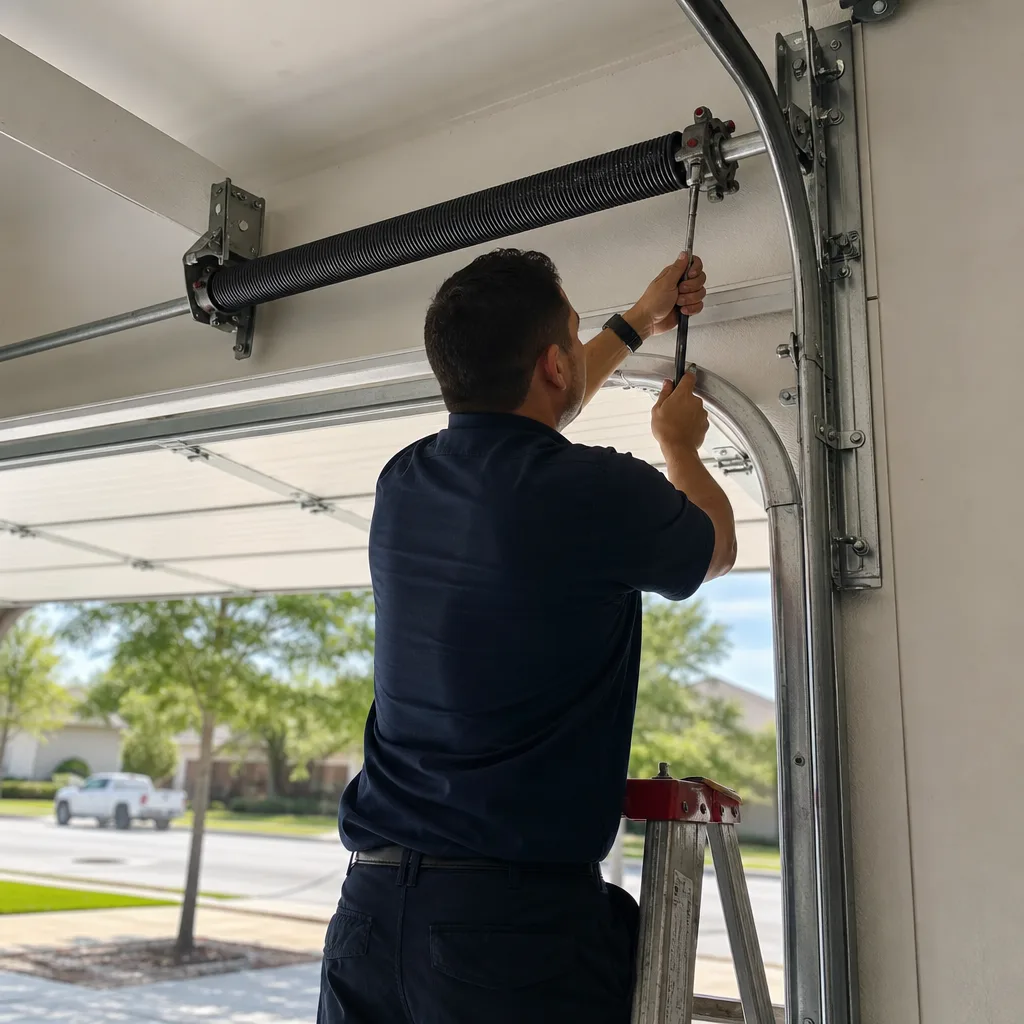 After
After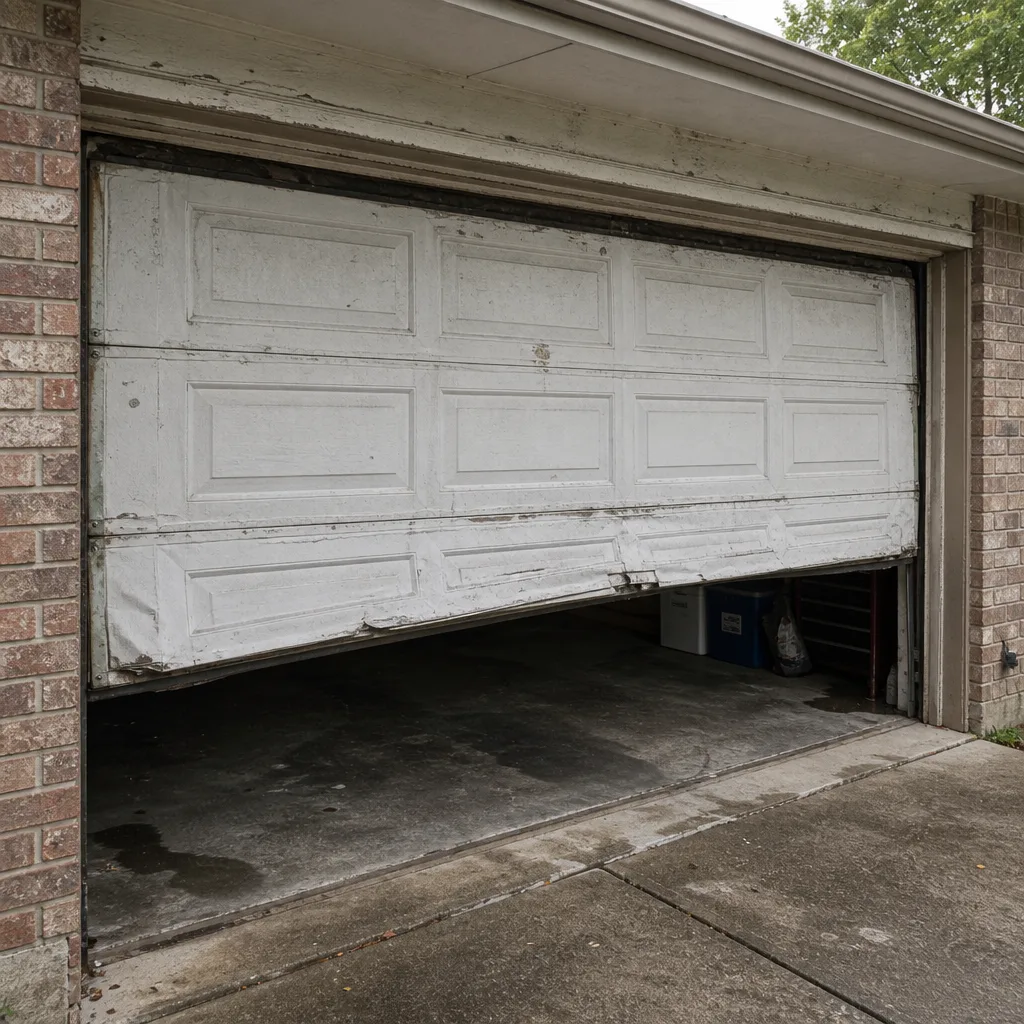 Before
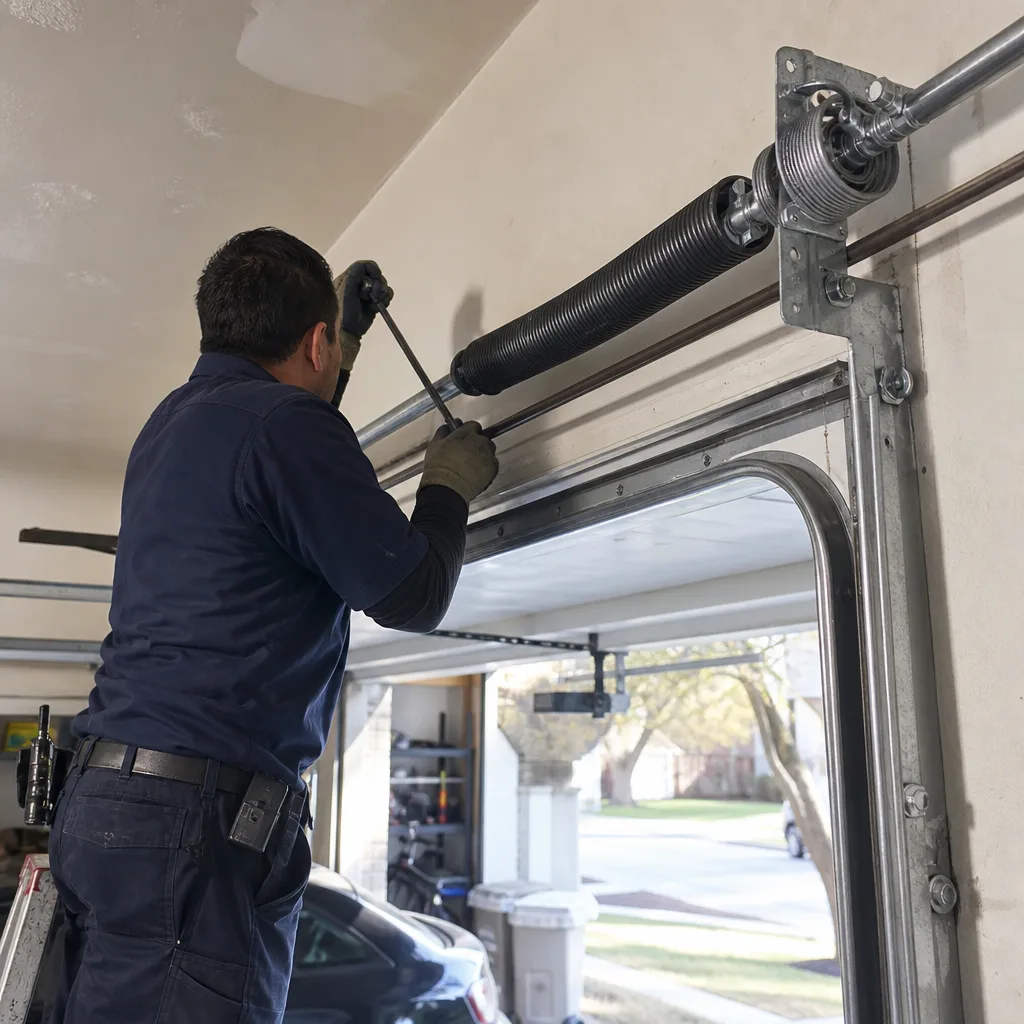 After
AfterGarage Door Repair Maintenance Checklist for Fort Worth Homeowners
Most garage door lubricant sold at hardware stores contains petroleum distillates that degrade nylon rollers from the inside. The roller looks fine on the outside for six months, then shatters under load on a Tuesday morning when you’re already late. That’s the kind of failure a real maintenance checklist is designed to prevent. This guide is not a vague list of things to “check for wear.” It’s a technical inspection protocol with pass/fail criteria, specific torque values, lubricant types by component, and a Fort Worth maintenance calendar built around our actual climate. You’ll learn what to measure, what to record, and when to stop touching the door and call someone who does this every day for Garage Door Repair services.
Quick Answer
A garage door maintenance checklist for Fort Worth homes should cover six systems, inspected twice yearly: spring tension and cycle count, roller radial play, hinge and bracket torque, opener force settings, weatherstripping integrity, and track alignment. The highest-priority inspection window in Fort Worth is mid-September, after summer heat expansion contracts the metal components and exposes loose fasteners. Each inspection should end with a written record: date, measurements taken, pass/fail results, and any lubrication applied.
Table of Contents
- Lubrication Protocol: What Goes Where, and What Never Does
- Measuring Spring Tension Deflection Without Releasing the Spring
- Roller Inspection: Radial Play, Flat Spots, and Structural Failure
- The Fort Worth Maintenance Calendar: Why September Matters Most
- Hinge and Bracket Torque: The Specs That Prevent Door Sag
- Opener Force Settings and Safety Reversal Testing
- A Documented Record Format That Future Technicians Will Actually Use
- Common Mistakes to Avoid
- When to Call a Professional
- Frequently Asked Questions
BeforeAfterLubrication Protocol: What Goes Where, and What Never Does
Lubricating a garage door is not one task. It’s five separate decisions made component by component. The wrong product in the wrong place does more damage than skipping lubrication entirely, which is why we’re going to be specific about brands and formulations.
For torsion springs, use white lithium grease in a spray formulation. The spring coils need a thin, even film that penetrates between the coils as they flex. We use and recommend white lithium spray from WD-40 Specialist or Blaster. Apply to the spring while the door is closed, meaning the spring is under maximum tension and the coils are tight against each other. As the door opens and the coils separate, the grease works inward. One pass along the spring is enough; heavy application just collects dirt.
For hinges and the roller stems, white lithium grease works, but a garage door specific hinge lubricant holds up better against the dust Fort Worth gets from construction and dry winds. That dust settles in grease and creates an abrasive paste if you’re not selective about what goes on. Light application twice a year beats heavy application once.
For weatherstripping along the bottom of the door and the side jambs, use pure silicone spray. We’re talking about the rubber or vinyl seal, not the metal track. Silicone keeps the rubber pliable through prolonged Fort Worth heat and prevents it from cracking or welding itself to the concrete slab. 303 Aerospace Protectant is our go-to recommendation. It’s not a garage door product, but it’s the best rubber conditioner on the market and a single bottle lasts years.
Nothing goes on the tracks. Ever. The rollers are designed to travel on a clean metal surface. Any lubricant on the track collects debris, which then gets between the roller and track and grinds both down. If your tracks look like they need lubrication, what they actually need is cleaning. Wipe them down with a dry rag. If there’s caked grime, a damp rag followed by a dry one. That’s it. If a technician puts grease on your tracks, they do not understand the mechanism they’re being paid to maintain.
Measuring Spring Tension Deflection Without Releasing the Spring
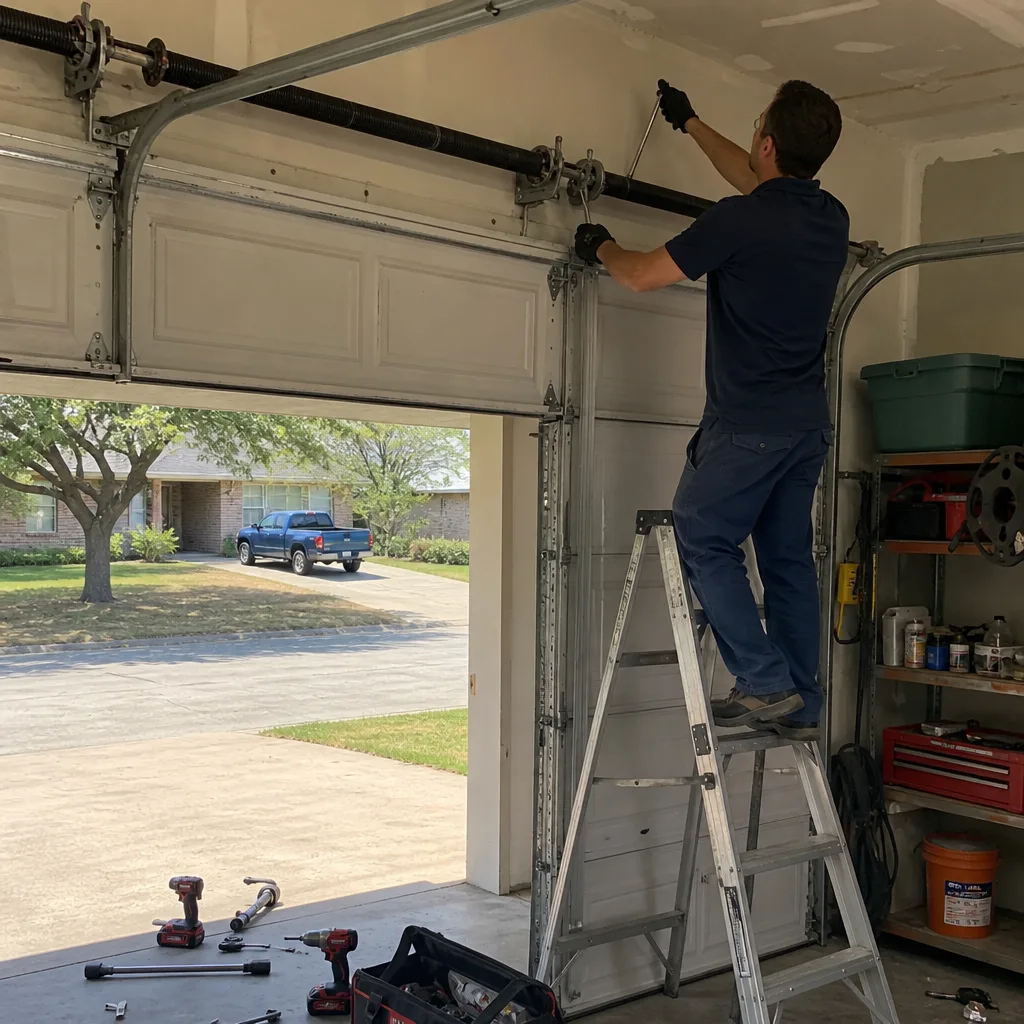
Garage door springs have a finite service life, measured in cycles, not years. One cycle is one full open and close. Most residential torsion springs are rated for 10,000 cycles, which translates to roughly seven to ten years of average use. But “average” is a myth. A household with two cars, a teenager who forgets things, and a home gym in the garage will put 1,500 cycles on that door in a year. A retired couple might use 200.
You cannot count cycles you didn’t watch. What you can do is measure what’s called tension deflection, a proxy measurement that tells you how much cycle life remains in the spring.
Here’s the procedure. You’ll need a tape measure and something to write with.
- Close the door completely. The spring is now under maximum tension.
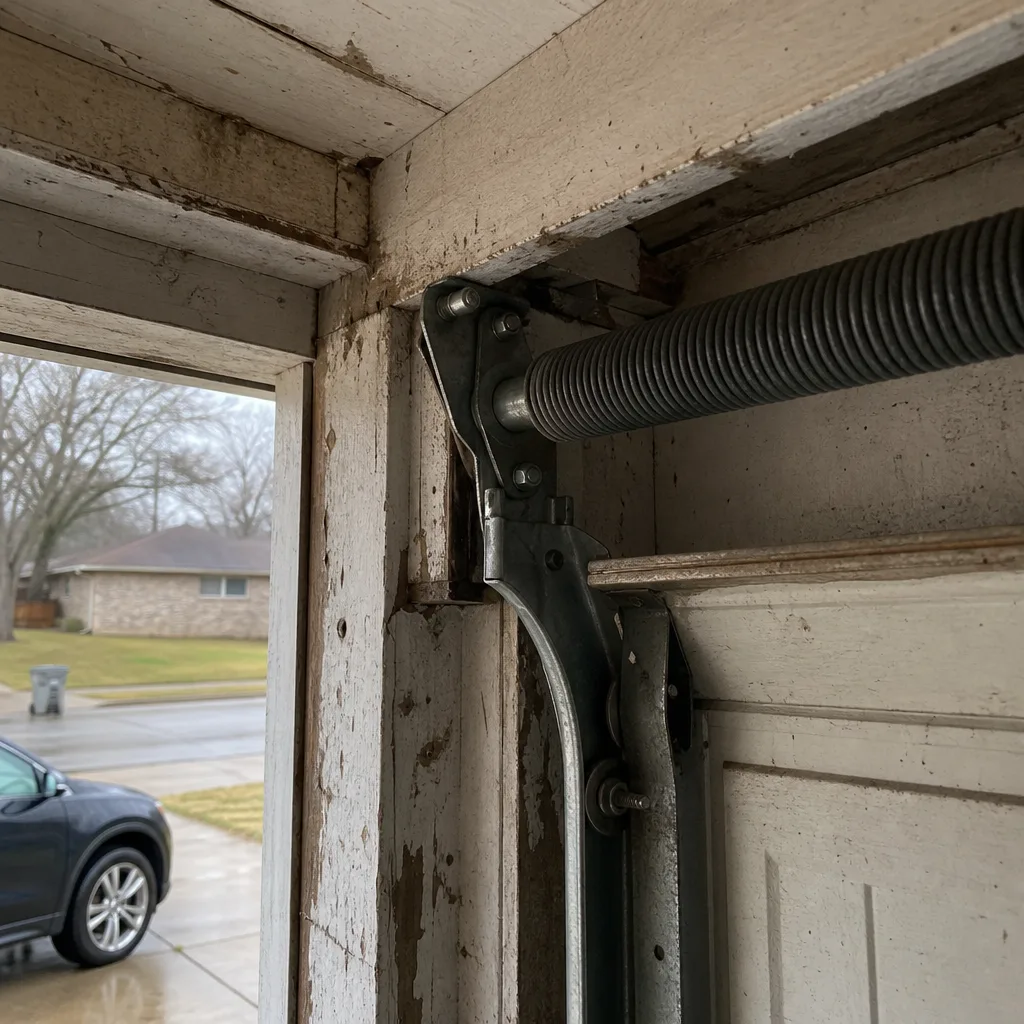
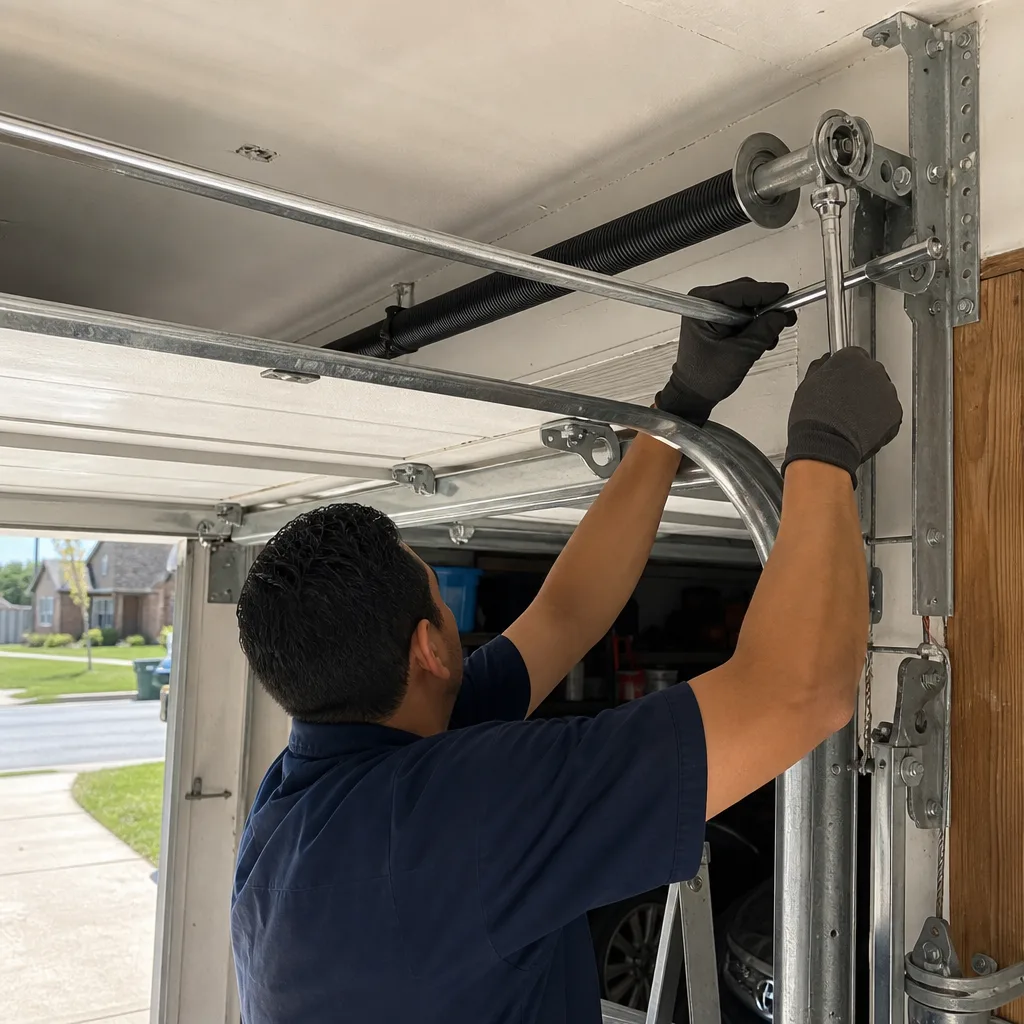
- Locate the torsion spring, the long coiled spring mounted horizontally above the closed door.
- Measure the overall length of the spring from end to end, including the stationary cones at both ends. Record this as your baseline length.
- Open the door completely. The spring is now under minimum tension.
- Measure the spring length again in the same way.
- Subtract. The difference between the closed length and the open length is your tension deflection.
A new or healthy torsion spring will show a deflection between 1 and 2 inches. As the spring fatigues and loses its temper, that deflection number shrinks. When a spring shows less than 3/4 inch of deflection, it’s in end-of-life territory regardless of how many years it’s been installed. The spring is no longer storing enough energy to meaningfully assist the opener, which means the opener motor is working harder than it’s rated for. That’s how opener logic boards fail prematurely. We’ve covered Garage Door Warning Signs: A Fort Worth Homeowner’s Reference Guide because we’ve seen it in Fort Worth more times than we can count, a door working “fine” right up until the spring snap and the opener burns out in the same month.
Important: you are measuring the spring. You are not touching it, winding it, unwinding it, or adjusting it in any way. Torsion springs under tension contain enough stored energy to cause serious injury or death if they release. The measurement described above is observational only, done with your hands holding a tape measure, not a winding bar.
When the Numbers Say Replace
- Deflection under 3/4 inch: source replacement springs now, not after failure.
- Visible gap or clean break in any coil: the spring has failed. Stop using the door. Do not attempt to open it manually or with the opener.
- Rust flaking from the spring coils: surface rust is cosmetic, but deep pitting changes the stress distribution and shortens remaining life.
- The door feels heavier than it used to: this is the spring losing tension. Your opener is compensating. Measure the deflection to confirm.
Fort Worth’s heat accelerates spring metal fatigue. Steel loses strength at elevated temperatures, and a garage with a west-facing wall in July regularly exceeds 130 degrees inside. If your spring is ten years old, the heat has already rewritten its service life. The deflection test tells you what’s left.
Roller Inspection: Radial Play, Flat Spots, and Structural Failure
The rollers on a garage door are the only components that touch the track, and they take the full weight of the door on every cycle. There are three failure modes, and only one of them is visible from across the driveway.
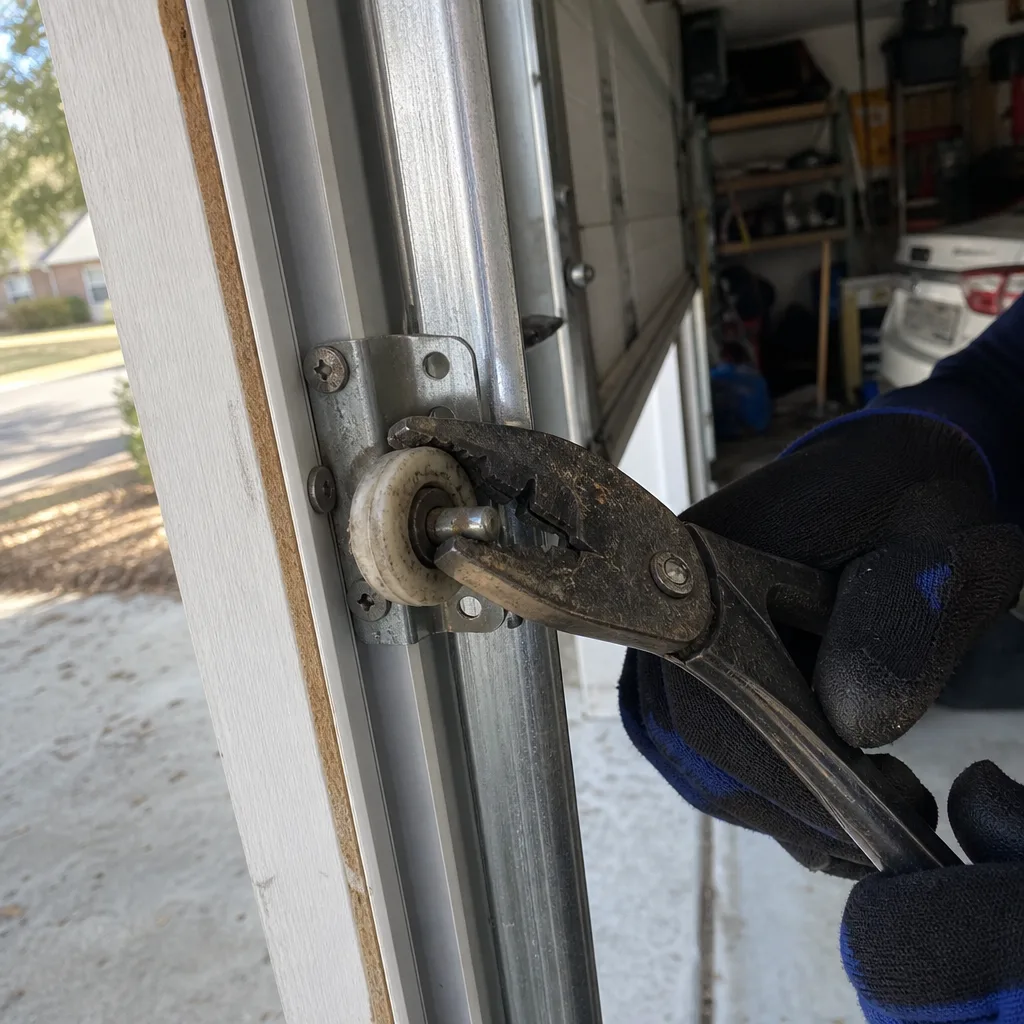
Radial play is the amount of sideways movement a roller has inside its hinge barrel. You measure this with a caliper, and yes, we mean an actual caliper, not a visual guess. A new roller should have no measurable radial play. You grab the wheel of the roller and try to wobble it side to side within the hinge. If it moves more than 1/16 inch, the roller bearing is worn and the roller needs to come out. Radial play above 1/8 inch means the roller is effectively loose in the track, and the door will begin to rattle even when springs and hinges are fine.
Flat spots happen when a roller stops rolling and starts sliding. The wheel develops a flat section from friction against the track. You’ll hear a rhythmic thump on every cycle, the flat spot hitting the bracket. A roller with a flat spot is not necessarily about to fail structurally, but it’s chewing up the track, and that track is a lot more expensive to replace than a $4 roller. If you can see a flat section on the wheel with your eyes, replace the roller now, not after the track is damaged.
Structural failure is the one you should not wait to see. Nylon rollers, which are standard on most doors built since 2010, degrade from the inside when exposed to petroleum-based lubricants. The nylon wheel develops internal cracks that are invisible from the outside. The wheel looks fine until it shatters under load, and when that happens on a door under tension, the shattering can cascade, causing the door to come off its track partially or fully. We’ve seen a shattered roller jam a door halfway open at 11:00 pm with the homeowner’s car inside and no way to close the opening. It’s not a cosmetic problem to monitor. It’s a failure to plan for.
Fort Worth homeowners should inspect rollers every September during the post-summer inspection and every March before the rainy season starts. Look at all rollers with the door closed. Then open the door and inspect again, because the rollers on the vertical track sections spend more time under side load. If a roller looks different on the open pass, that’s a wear pattern stating to form.
The Fort Worth Maintenance Calendar: Why September Matters Most
The national garage door maintenance advice says “check your door twice a year.” For Fort Worth, the timing is not negotiable. You inspect in mid-September and again in early March. Here’s why those months, specifically.
Fort Worth summers push garage temperatures past 130 degrees routinely, and the exposed metal on your door expands measurably. A standard 16-foot steel door will grow about 1/4 inch in length between the cool of morning and the peak of an August afternoon. All that expansion and contraction works on every screw, bolt, hinge, and bracket. By September, those fasteners have backed off. That’s not a theory; that’s observed on the majority of doors we service in places like Mistletoe Heights and Wedgwood every September.
A post-summer inspection is not a luxury. It’s the single highest-value maintenance session on the calendar. During this inspection, you’re looking for fasteners that have loosened from seven months of thermal cycling, weatherstripping that’s cracked from UV exposure, and any rust blooms where bare metal got exposed during a summer storm. You’ll also measure spring deflection in September, because the heat has accelerated whatever fatigue was already present.
Early March matters for a different reason. Fort Worth’s spring brings severe weather, including high-wind events and the occasional hailstorm. A door with loose hinges takes storm-force winds directly to its weakest points. You want everything tight before the first severe weather advisory. March is also after the winter temperature swings, where a 70-degree afternoon can follow a 25-degree night, and that rapid cycling catches a lot of doors with older rollers off guard.
The twice-a-year rhythm also aligns with daylight saving time changes, which is a genuinely useful memory anchor. When you change your smoke detector batteries, inspect the garage door. If you do one, do the other, and you’ll never miss a cycle.
Hinge and Bracket Torque: The Specs That Prevent Door Sag
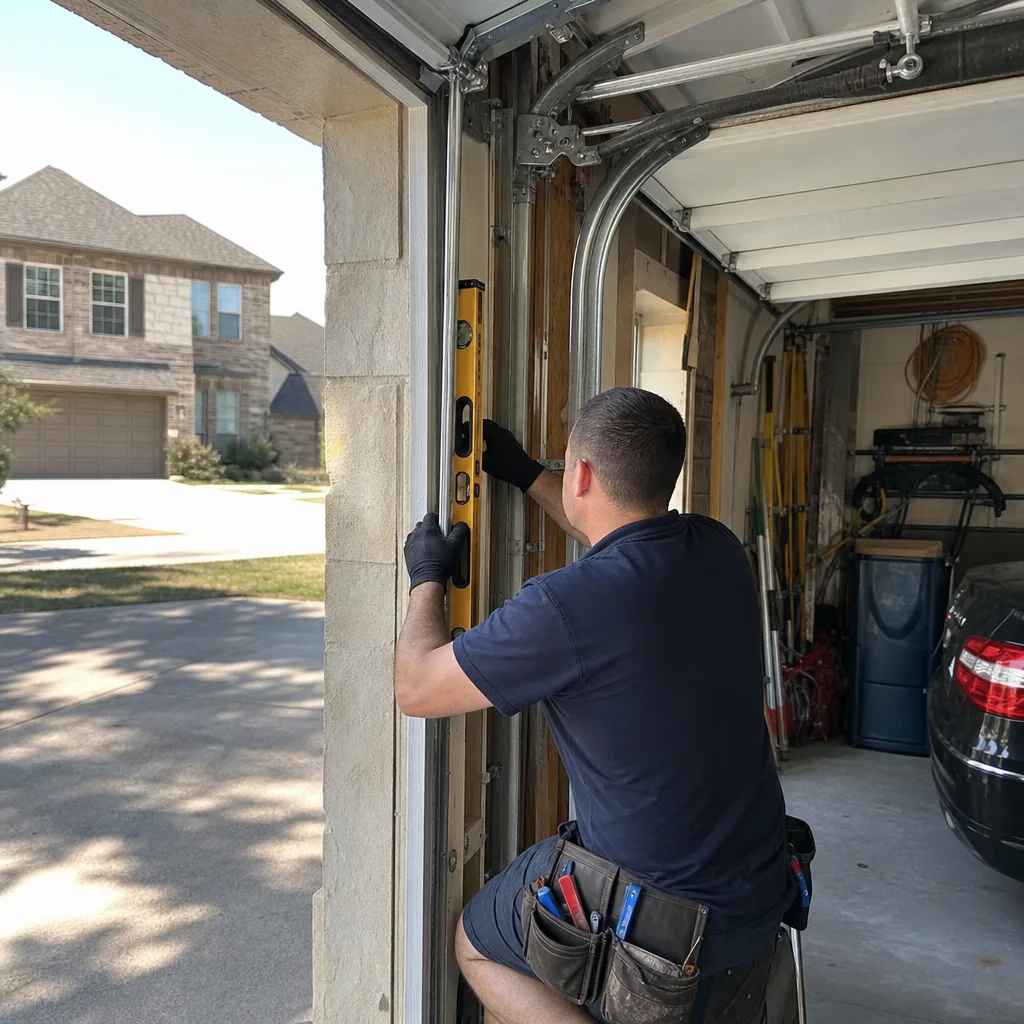
Every hinge on your garage door is bolted to a panel with carriage bolts or lag screws. Every bracket is bolted to the door frame or the ceiling. All of those fasteners have a torque specification. Almost no one checks torque on a garage door, and the result is door sag, misaligned tracks, and panels that crack around their mounting points.
For standard residential doors with steel or wood frame construction, the relevant torque ranges are as follows:
- Hinge-to-panel carriage bolts: 8 to 12 foot-pounds. Any less and the hinge shifts under load. Any more and you start crushing the panel core.
- Track-to-jamb lag bolts: 12 to 15 foot-pounds. These connect the vertical track to the wall framing. Once they loosen, the track drifts inward or outward and the door starts scraping.
- Operator bracket to door header or opener rail: 15 to 20 foot-pounds. This bracket takes the opener’s pull directly. A loose operator bracket is a common source of the “door jerks on start” complaint.
- Bottom bracket to lower panel (where the cables attach): 12 to 15 foot-pounds. These bolts hold the cable assembly, and a loose bottom bracket means the cable can unwind, which takes the door off balance.
Do not use an impact driver to check torque. Use a torque wrench or a properly set drill with a clutch. The point is to confirm the fastener is at spec, not to drive it deeper. If a bolt spins without resistance, the hole may be stripped, and tightening won’t fix it. That’s a repair, not a maintenance item.
While you’re checking torque, look for what we call “smile” wear, a pattern of rust or paint wear that fans out from the head of a bolt that’s been rotating against the metal. It looks like a faint smile shape etched into the surrounding surface. A smile pattern tells you the bolt has been loose for a while, and the door has been cycling with that slop for months, which may mean the panel itself has worn around the hole. Tightening the bolt is fine. But if the smile is deep, the panel may need a repair bracket, because the original hole is now oversized.
Opener Force Settings and Safety Reversal Testing
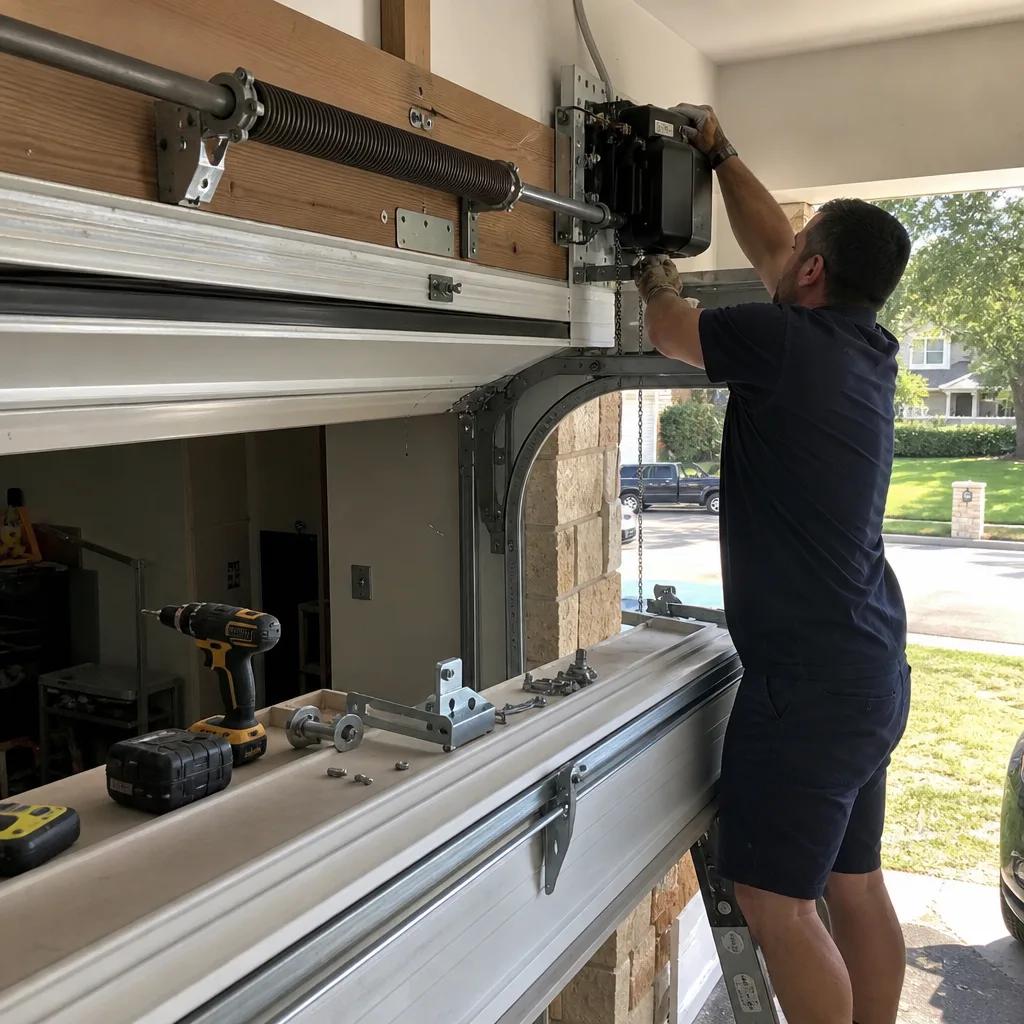
The opener force setting determines how much resistance the motor will push through before reversing. The factory setting on most openers made since 1993, when federal law mandated auto-reverse, is usually correct, but over time the door’s weight changes, springs lose tension, and force settings get bumped by curious owners. A force setting that’s too high means the opener will keep pushing when it should reverse. That’s how you get a door that crushes a trash can instead of stopping, or worse, fails to stop on a child.
Test the safety reversal at least once per quarter. You’ll need a 2×4 piece of wood laid flat on the ground under the door’s path.
- Close the door fully. Place the 2×4 flat under the door about 1 foot from either edge.
- Open the door to the fully open position. The opener should begin the open cycle normally.
- Close the door. The door should contact the 2×4 and reverse within two seconds of contact, returning to the open position.
- If the door does not reverse, close it fully, then test the photoelectric sensors separately by blocking the beam with your hand while closing. If the sensors are clean and aligned and the door still fails the reversal test, the force setting is too high.
Adjusting force settings is doable by a homeowner with the manual in hand, and for most modern openers it’s a small screw or dial on the motor unit. But if you’re unsure about the opener’s internal settings, call someone who works on openers regularly, or read our How to Hire a Garage Door Contractor in Fort Worth: A Step-by-Step Guide. A misadjusted force setting is not a door problem. It’s a safety problem waiting for a moment to become a tragedy. In Fort Worth, we tend to see force-setting issues on LiftMaster and Chamberlain units that have been through a few Texas power surges, which can corrupt the logic board’s stored settings even when the mechanical adjustments look right.
Also check the opener’s travel limits. The door should stop with the bottom seal just touching the floor, not pressing into it. An overtravel condition where the door pushes into the slab shortens the life of the bottom seal and adds unnecessary force to the opener. Undertravel leaves a gap that lets Fort Worth heat and humidity into the garage.
A Documented Record Format That Future Technicians Will Actually Use
Every garage door has a maintenance history, whether anyone wrote it down or not. The problem is that an undocumented history is the same as no history. When a technician shows up to a door that’s been making noise for three years, there’s no way to know if the current hinge looseness is new or if it’s the same hinge that was loose in 2023 and got ignored. A written record changes that.
You don’t need an app or a spreadsheet. You need a paper log, kept in a ziplock bag taped to the inside of the garage near the door opener, or a note in your phone. The format matters less than the consistency. What matters is what gets recorded. Here’s a format that works:
- Date of inspection
- Spring deflection measurement in inches, with the closed length and open length noted
- Roller inspection result: pass, or list of specific rollers showing radial play or flat spots
- Hinge and bracket torque check: pass, or list of specific fasteners that were loose and what they were tightened to
- Opener reversal test result: pass or fail
- Lubrication applied and to which components
- Any observations: noise on open, noise on close, visible rust, weatherstripping condition
This record accomplishes two things. First, it gives you a baseline for every future inspection, so you can see trends before failure. Second, when a technician does come, they don’t start from scratch. They read the log and know what’s been done, what’s been tight, what’s been loose, and what’s been failing slowly. That’s the kind of information that lets a technician say “this hinge has been torque-checked three times and is loose every time, which means the panel hole is stripped,” instead of “your door makes a noise, let me see what’s wrong.”
At Servo Garage Doors Fort Worth, every visit ends with a documented photo record, so our customers always know what was found and what was done. But even with our own records, a homeowner’s log adds context that no single visit can capture. If you bring us your log on our first visit, we read it before we touch the door. That’s not a courtesy. That’s Clause 4 of The Haven Standard in action: see the evidence before quoting a repair.
Common Mistakes to Avoid
- Lubricating the tracks. It’s the most common garage door mistake in Fort Worth and everywhere else. The tracks need to be clean and dry, not greased. Grease plus dust plus heat equals an abrasive slurry that grinds tracks and rollers.
- Using WD-40 on hinges. WD-40 is a water-displacing solvent, not a lubricant. It flushes out whatever lubricant was there and leaves behind a thin film that evaporates in a Fort Worth summer. Use white lithium grease or a garage door hinge lubricant.
- Ignoring a noisy door. Noise means metal is contacting metal in a way it shouldn’t. A door that squeaks, grinds, or thumps is telling you something specific. If you ignore it, the component fails and now you’re paying for the repair plus whatever damage the failure caused.
- Adjusting spring tension yourself. Torsion springs store enormous energy. When they release unexpectedly, the results are serious injury or death. There is no DIY version of this task that’s worth it. This is a genuinely dangerous component, and the only safe approach is a trained professional with the proper winding bars.
- Checking the door once a year and thinking it’s enough. Fort Worth’s climate demands two inspections, September and March, because the failure modes differ by season. Once a year means you’re always six months late to one of them.
- Replacing one spring when there are two. If you have a two-spring torsion system and one spring breaks, replace both. The surviving spring has the same cycle count as the failed one. Replacing only one leaves you with an unbalanced door and a spring that’s about to fail.
- Not testing the safety reversal. It’s the only mechanism on the door that exists purely for safety, and it’s the least-tested component in most garages. Test it quarterly. It takes two minutes, and it’s the difference between a door that stops on contact and a door that doesn’t.
When to Call a Professional
Some maintenance tasks are yours; some are not. When a torsion spring shows deflection under 3/4 inch, when a cable shows fraying, when a roller has shattered, or when the door is off its track, the job has moved past maintenance and into repair territory. These are not tasks to attempt with a YouTube tutorial and a socket set; see our more guides & resources for safe homeowner tasks instead. Torsion springs and lift cables are under tension that can kill. If you’re measuring deflection and the numbers are trending down, we’d rather you call us before the spring snaps than after. Servo Garage Doors Fort Worth offers free estimates on garage door repair in Fort Worth, always with a written price before any work starts. Call (682) 297-6476 and we’ll tell you what we found and what it costs, in writing, before we touch anything. That’s Clause 1 of The Haven Standard.
Frequently Asked Questions
Twice a year, timed to your September and March inspections. Fort Worth’s heat accelerates lubricant breakdown, so a spring lubed in September will be dry by March. Use white lithium grease on springs and hinges, silicone spray on weatherstripping, and nothing on the tracks.
A full maintenance visit from a Fort Worth garage door company typically runs $85 to $150, depending on the number of components serviced and whether any adjustments are needed. At Servo Garage Doors, you’ll get a written price before any work starts, per Clause 1 of The Haven Standard. Call (682) 297-6476 for an exact quote, estimates are free.
Yes, you can measure spring deflection yourself using the observational method described above. You should not attempt to adjust, tighten, release, or replace a torsion spring. The stored energy in a wound spring is high enough to cause fatal injury. Measure it, write down the number, and if it’s under 3/4 inch, call a licensed professional.
Servo Garage Doors services LiftMaster, Chamberlain, Genie, Clopay, Amarr, Wayne Dalton, Craftsman, and Raynor. We work on every major brand. The maintenance procedures in this guide apply to all of them, with minor differences in opener programming and spring sizing.
Yes. Seven months of 90-plus degree heat has expanded all the metal on the door, and the contraction that happens in September exposes every loose fastener. If you only do one inspection this year, do it in mid-September. If you only do two, second one in March before severe weather season starts.
No, not at Servo Garage Doors Fort Worth. We quote a flat, written price and written scope before any work begins, and that price holds. If we find something additional during the work, we’ll document it with a photo and quote a separate price before proceeding. You’ll know the number before we touch the door. That’s Clause 1 of The Haven Standard, and it’s been our policy since 2015. Call (682) 297-6476 to schedule a maintenance visit.
The Bottom Line
A maintenance checklist only works if it tells you what to measure, what number means pass, and what number means replace. Measure spring deflection with a tape measure, check roller radial play with a caliper, verify hinge torque with a torque wrench, and test the opener reversal with a 2×4. Lubricate springs and hinges with lithium grease, weatherstripping with silicone, and tracks with nothing. Inspect every September and March, write down what you find, and keep that record where a technician can read it. If the numbers don’t meet the thresholds in this guide, call (682) 297-6476. In Fort Worth, we’d rather inspect a door in September than replace a spring in February.
Written by Marcus Deller, Owner at Servo Garage Doors Fort Worth, serving Fort Worth since 2015.